

Description ST 600 V / ST 750 V / ST 1000 V
Fields of application of vertical measuring projectors
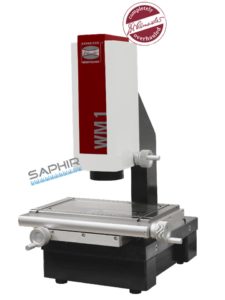
The measuring projectors with vertical beam passage have a cross table with very high rigidity. Thanks to a special glass plate, table loads of up to 20 kg can be measured directly on the glass plate. Mounts such as pointed jaw vices or rotation axes, manual, motorised or CNC, can be installed on the table with no problem at all.
Fixed in a rigid basic construction, lenses, mirrors and projection screens of high-quality materials with excellent optical properties guarantee the highest measurement accuracy. This measurement reliability characterises Dr. Heinrich Schneider Messtechnik as a reliable and innovative partner in the field of precision measurement, and assures you of consistently high accuracy over the life cycle of your measurement device.
Basic configuration of the measuring projectors
- 600 – 1000 mm projection screen with cross hairs, depending on version ·
- Template holder
- Goniometer 360° pivotable, vernier 1’
- 3-lens turret for different lenses
- Measuring range: 300 x 200 mm up to 500 x 200 mm, depending on version
- Table area: 600 x 440 mm to 800 x 440 mm, depending on version
- X, Y and Z axis in needle bearings
- Scales with a resolution of 0.1 µm
- Motorisation of all three axes and operation via joystick
- Transmitted light and incident light illumination
- Focusable incident light illumination
- M2 measurement software with edge sensor integrated into the beam path
Options
- Integration of a high-resolution CCD camera in the beam passage for documented and fast measurements
- M3 measurement software as intuitive entry-level package to image processing
- SAPHIR measurement and analysis software for complex measurements
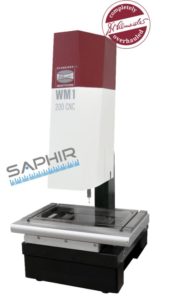
- CNC system for automatic measurement of the workpieces
- Expansion up to 5 axes for control of rotating table and rocker arm
- SPC interface for measured data analysis
- 2D digitization of unknown workpiece contours
- CAD data comparison with 2D BestFit
- User management for quick and simple measurement by several machine operators
- Further options available on demand
Highlights
- 2D optical measurement device, calibrated to DIN EN ISO 10360-7
- Ideal for use in rough production environments
- Easily accessible workpiece mounting
- Large ground glass screen simplifies orientation on the workpiece
- A CNC system also enables automated measuring programme routines


